While the home-folder encryption in Ubuntu is far from a perfect solution (there is considerable data leakage from the swap file and the temp directory - for example once I've observed the flash videos from Chromium porn private browsing mode being present in the /tmp directory), it is a partial solution nevertheless and very easy to set up during installation. However what can you do if you need to recover the data because you dismantled your system?

Credit where credit is due: this guide is taken mostly from the Ubuntu wiki page. Also, this is not an easy "one-click" process. You should proceed carefully, especially if you don't have much experience with the command line.
Start Ubuntu (from a separate install, from the LiveCD, etc) and mount the source filesystem (this is usually as simple as going to the Places menu and selecting the partition). Start a terminal (Alt+F2 -> gnome-terminal) and navigate to the partitions home directory. Usually this will look like the following:
cd /media/9e6325c9-1140-44b7-9d8e-614599b27e05/home/
Now navigate to the users ecryptfs directory (things to note: it is ecryptfs not encryptfs and your username does not coincide with your full name - the one you click on when you log in)
cd .ecryptfs/username
The next step is to recovery your "mount password" which is different from the password you use to log in (when it asks you, type in the login password used for this account - for which you are trying to recover the data). Take note of the returned password (you can copy it by selecting it and pressing Shift+Ctrl+C if you are using the Gnome Terminal)
ecryptfs-unwrap-passphrase .ecryptfs/wrapped-passphrase
Now create a directory where you would like to mount the decrypted home directory:
sudo mkdir /media/decrypted
Execute the following and type in (or better - copy-paste) the mount password you've recovered earlier
sudo ecryptfs-add-passphrase --fnek
It will return something like the following. Take note of the second key (auth tok):
Inserted auth tok with sig [9986ad986f986af7] into the user session keyring
Inserted auth tok with sig [76a9f69af69a86fa] into the user session keyring
Now you are ready to mount the directry:
sudo mount -t ecryptfs /media/9e6325c9-1140-44b7-9d8e-614599b27e05/home/.ecryptfs/username/.Private /media/decrypted
Passphrase: # mount passphrase
Selection: aes
Selection: 16
Enable plaintext passthrough: n
Enable filename encryption: y # this is not the default!
Filename Encryption Key (FNEK) Signature: # the second key (auth tok) noted
You will probably get a warning about this key not being seen before (you can type yes) and asking if it should be added to your key cache (you should type no, since you won't be using it again probably).
That's it, now (assuming everything went right) you can access your decrypted folder in /media/decrypted. The biggest gotcha is that home/username/.Private is in fact a symlink, which - if you have an other partition mounted - will point you to the wrong directory, so you should use the home/.ecryptfs/username directory directly... If this does work you try this from this ubuntu tutorial ...
Or you can also try this Live CD method of opening a encrypted home directory


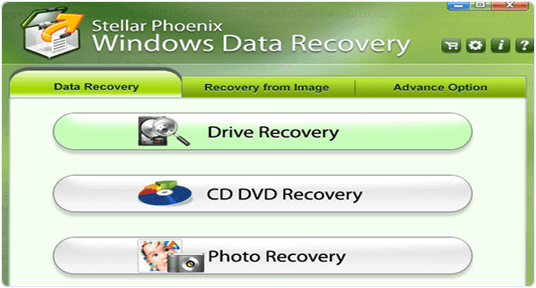 Step 4. After selecting the drive you have to choose delete recovery if you want to recover deleted files.
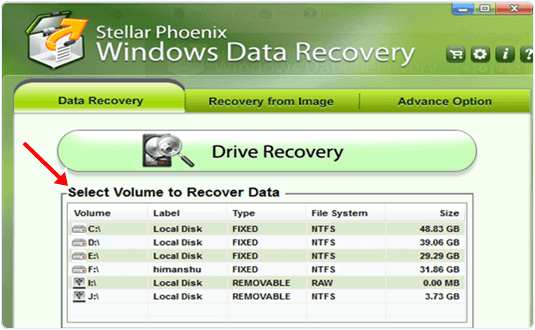 Step 5. Select advance option if you want to recover a formatted drive. Select drive and press scan button.
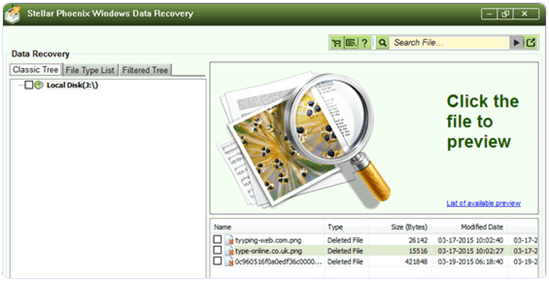 Step 7. Tick the files you want to recover and press recover button.